Buying a New Dryer? Check the Vent Before Delivery
A new dryer is only as good as the vent behind it. What to check before delivery day, from the transition duct to the outside flap, and when to call for help.
When an old dryer finally quits, most of the attention goes to the new one: capacity, features, gas or electric, which day it can be delivered. The vent behind it rarely comes up. But a new dryer hooked up to an old, lint-filled or crushed vent will still struggle to dry clothes, and it inherits whatever problems the old setup had.
Before delivery day, take a few minutes to check the vent. Here's what to look at in a Lone Tree laundry room.
Why the vent matters more than the machine
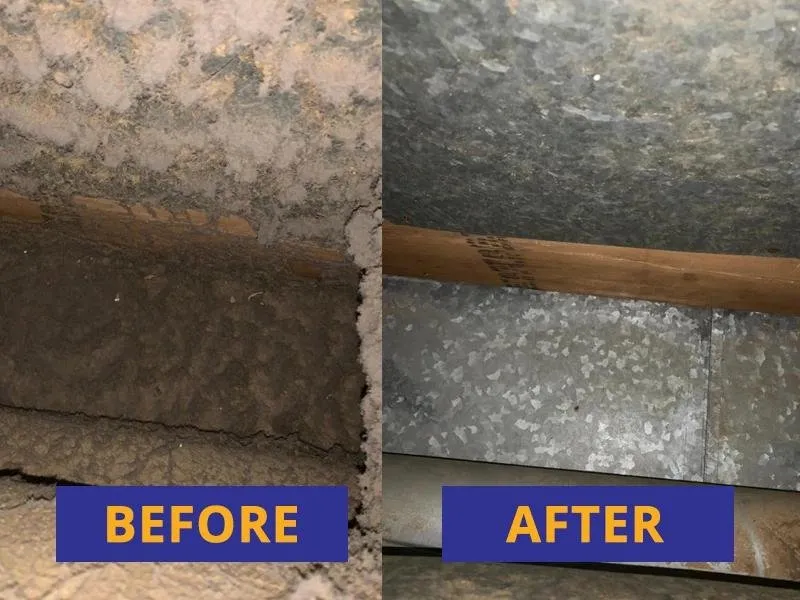
Every vented dryer works the same way: it heats air, tumbles it through the clothes and pushes the warm, damp, lint-filled air outdoors through a duct. If that duct is partly blocked or crushed, the air can't leave fast enough. The U.S. Fire Administration lists clothes taking longer to dry, or feeling hotter than usual at the end of a cycle, as signs of a blocked vent.
A new dryer won't fix that. In fact, many people replace a dryer they think is failing when the real problem was the vent all along. GE Appliances, for example, notes that a blocked or kinked exhaust vent can make a dryer overheat and shut down.
Step one: look at the transition duct
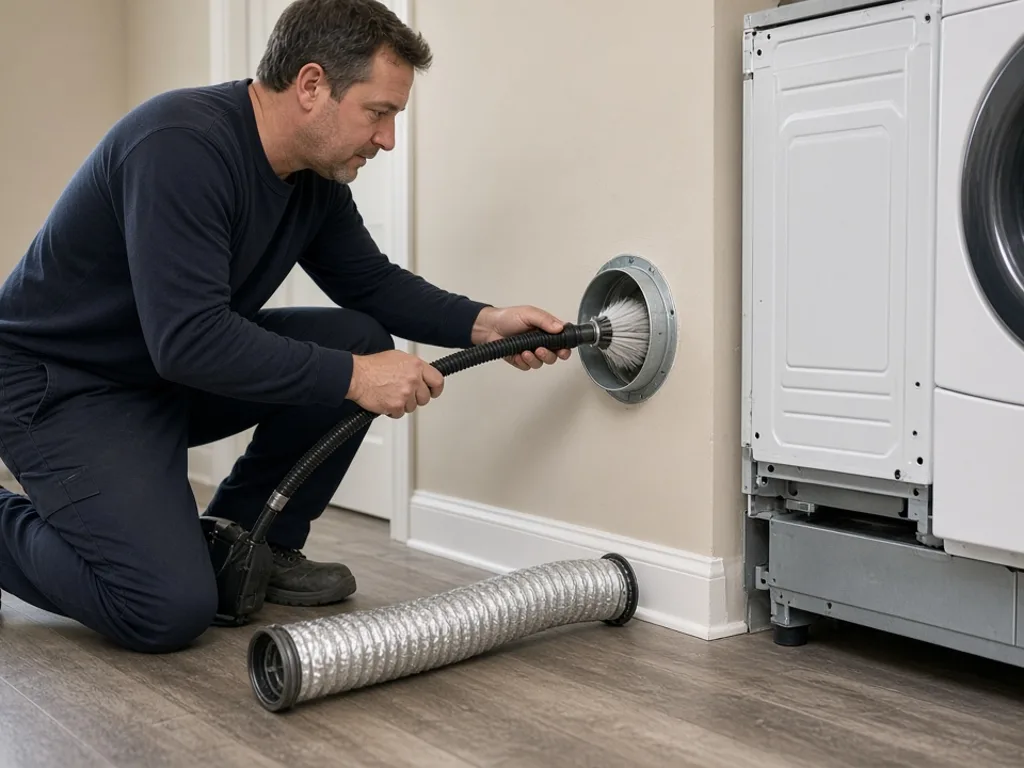
The transition duct is the short connector between the back of the dryer and the vent opening in the wall, floor or ceiling. It's the part you can see when you pull the dryer out, and it's the part most likely to be damaged.
Check for:
- Material. The USFA says dryer ducts should be metal and does not recommend plastic or foil accordion-style ducts. If yours is white vinyl or thin foil, plan to replace it.
- Crushing or kinks. Ducts often get flattened when a dryer is pushed back against the wall.
- Length. Under the International Residential Code, which many jurisdictions adopt in some form, the transition duct should be a single length no longer than 8 feet, listed to the UL 2158A standard, and not hidden inside walls or ceilings.
- Lint at the connections. Lint around either end usually means a loose fit.
Many delivery and installation crews will connect the new dryer to your existing vent as-is, so it's worth handling problems before they arrive. Ask the retailer what their installation includes.
Step two: check how the joints are fastened
This detail surprises a lot of people. The IRC calls for dryer duct joints to be sealed and mechanically fastened, and it limits screws or similar fasteners from sticking more than 1/8 inch into the duct, because anything that protrudes inside can catch lint. Foil tape seals a joint but doesn't hold it together on its own. Metal clamps are a common way to secure the transition duct at each end.
If you see long screws poking into the duct or a joint held only with tape that's peeling away, that's worth fixing. When in doubt, follow the dryer manufacturer's installation instructions, which also list the maximum vent length for your model.
Step three: check the outside end
Go outside and find where the vent ends. Then:
- Look at the hood. Is the flap or louver intact and free of lint?
- Check for nests or debris. The USFA notes that birds and small animals can nest in dryer vents.
- Make sure it's not screened. The USFA advises against wire screen over the opening because it catches lint.
- Run the old dryer if it still works and confirm the flap opens with air moving out.
If you can't find where your vent ends, or it seems to end in an attic, crawl space or garage, stop there. Building codes require dryers to exhaust directly outdoors.
Step four: decide whether to have it cleaned
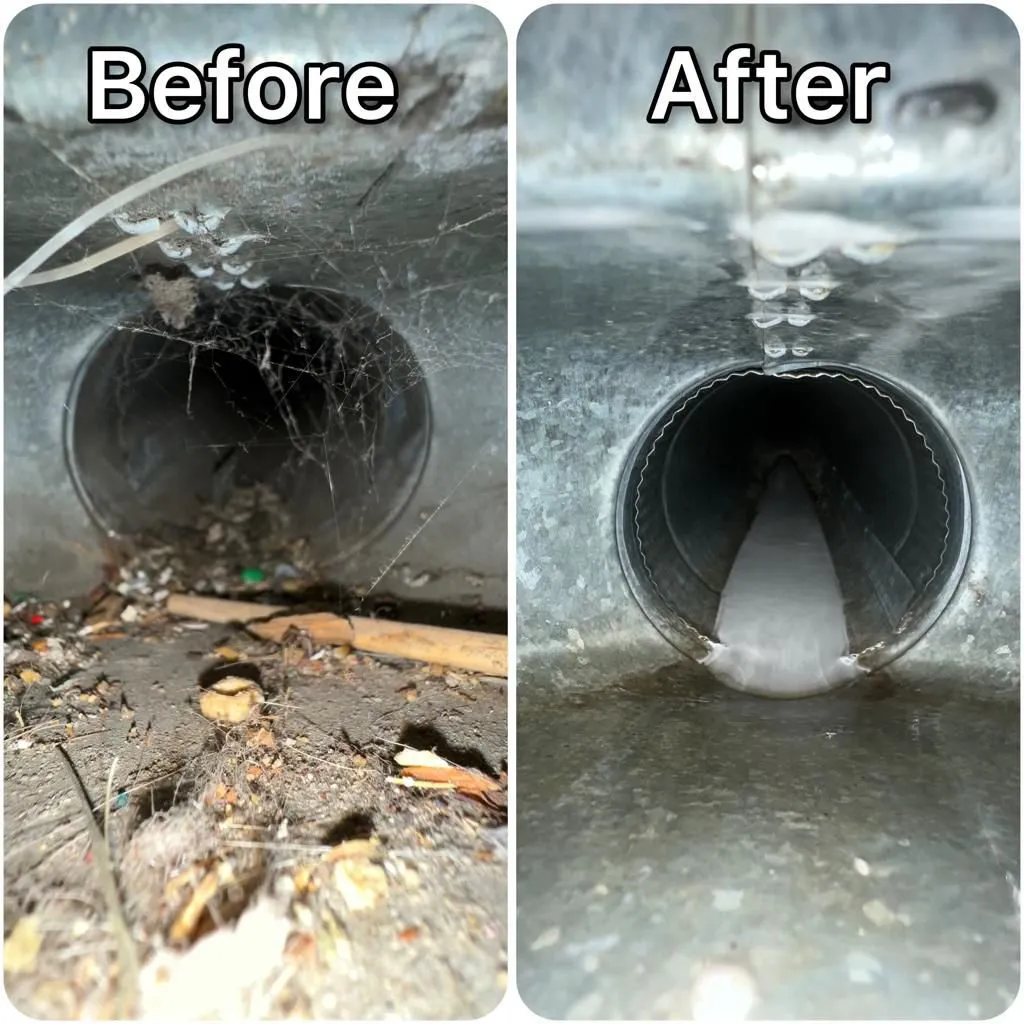
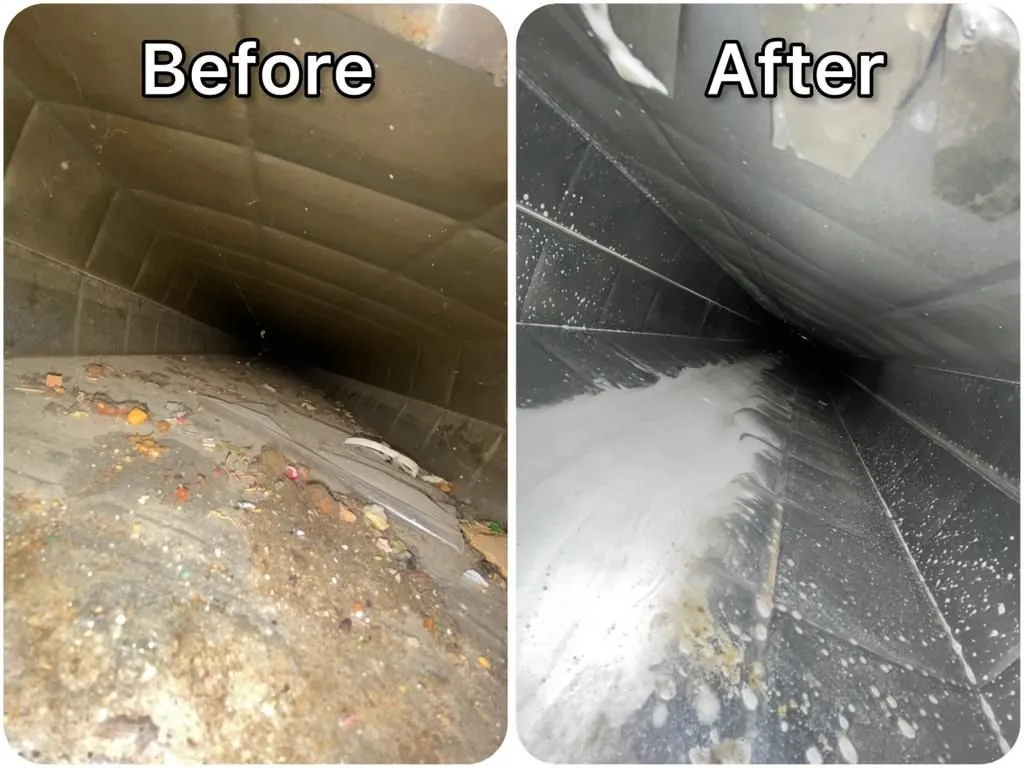
If your old dryer was slowing down before it died, assume the vent has buildup. Delivery day is a good deadline for a cleaning, since the old dryer is out of the way and the connection is easy to reach.
Our dryer vent cleaning is $99 to start, covering up to 10 feet of vent, plus $15 per additional foot. The inspection is included, we clean through to the exterior hood, and we check that the outside flap opens and closes. We'll point out a damaged transition duct or a missing hood so you can have it replaced. See our pricing page for every service in one place.
If your new dryer is gas, have it connected by a qualified professional. Fire safety guidance from the NFPA, published by the U.S. Department of Energy, says gas dryers should be inspected to make sure the gas line and connection are intact and free of leaks. That isn't part of a vent cleaning.
Bonus: heat pump dryers don't use a vent
If you're shopping for a heat pump dryer, ENERGY STAR notes that it works as a closed loop and doesn't need an outdoor vent. Before switching, have the old vent opening properly capped by a contractor.
Our service areas page lists the towns we cover around Lone Tree.
Before your new dryer arrives, request a free estimate from American Air Duct Cleaning of Lone Tree and we'll make sure the vent is ready for it.
Sources
- Clothes Dryer Fire Safety, U.S. Fire Administration, accessed October 22, 2026
- Clothes Dryer Fires in Residential Buildings (2008-2010), Topical Fire Report Series Vol. 13, Issue 7, U.S. Fire Administration, August 2012
- Clothes Dryer & Washing Machine Safety, NFPA, published by the U.S. Department of Energy, accessed October 22, 2026
- Clothes Dryers, ENERGY STAR, accessed October 22, 2026
- Why Won't My Dryer Start?, GE Appliances Factory Service, accessed October 22, 2026
- M1502.4 Dryer Exhaust Ducts (Colorado Residential Code 2021), UpCodes, accessed October 22, 2026